Creating a Simple ChatGPT-like Chatbot: Tutorial

Introduction
With this tutorial, you can learn to create a simple ChatGPT‐like chatbot using React and PolyFact. It can be followed by beginner developers as well. Hope you find it useful!
Stack
The stack we will be using in this tutorial is React for the user interface, Tailwind CSS for easy styling, and PolyFact SDK for chatbot functionality. A fundamental grasp of programming concepts and React is recommended to successfully follow this tutorial.
Full Documentation
You can consult the libraries for every stack if you have any problems or need more information.
PolyFact Documentation React Documentation Tailwind Documentation
Step 0: Get a PolyFact API key for LLM calls on PolyFact
First, you will need to already have created an account on https://app.polyfact.com/.
When your account is created you can get a project_id by creating a project here: https://app.polyfact.com/project/new
You will need it for later!
Step 1: Setting up the React App
Open your terminal and initialize a new React app using TypeScript. Any terminal will suffice.
npx create-react-app chat-using-polyfact --template typescript
cd chat-using-polyfact
npm install polyfact
Then, in a separate terminal, you can run the development server:
npm start
Step 2: Integrating PolyFact SDK
We will start by adding a login feature. We'll use the usePolyfact hook to access the login functionality.
To make PolyFact calls directly from the frontend, you always need an Authentification session. If you put our global API token in the Client, your PolyFact project might get hacked.
src/App.tsx
import React from 'react';
import { usePolyfact } from 'polyfact';

function App() {
  const { login, polyfact } = usePolyfact({ project: "<your_project_id>" });
  return (
    <div>{
        login ? (<button onClick={() => login({ provider: "github" })}>Login with Github</button>) : polyfact ? "We are logged!" : "Loading..."
    }</div>
  )
}

export default App;
This code defines a React component that uses the usePolyfact hook to handle GitHub authentication. It renders different content based on the user's login status and whether the authentication process is still loading.
Step 3: Generating Data
Remove the <StrictMode> tags in your index.tsx.
PolyFact works with strict mode, but here we want to avoid duplicated useEffect requests.
src/index.tsx
import React from 'react';
import ReactDOM from 'react-dom/client';
import './index.css';
import App from './App';
import reportWebVitals from './reportWebVitals';

const root = ReactDOM.createRoot(
  document.getElementById('root') as HTMLElement
);
root.render(
  <App />
);

reportWebVitals();
Let's make our component generate and display a basic text once the polyfact object is ready:
src/App.tsx
import React, { useState, useEffect } from 'react';
import { usePolyfact } from 'polyfact';

function App() {
  const { login, polyfact } = usePolyfact({ project: "<your_project_id>" });
  const [helloWorld, setHelloWorld] = useState<string>();

  useEffect(() => {
    if (polyfact) {
      (async () => {
        const haiku = await polyfact.generate("Write a hello world haiku");
        if (typeof haiku === "string") setHelloWorld(haiku);
      })()
    }
  }, [polyfact])

  return (
    <div className="text-2xl font-bold p-4">
      {login ? (
        <button onClick={() => login({ provider: "github" })}>
          Login with Github
        </button>
      ) : helloWorld ? (
        <p style={{ whiteSpace: "pre-line" }}>{helloWorld}</p>
      ) : (
        "Loading..."
      )}
    </div>
  );
}

export default App
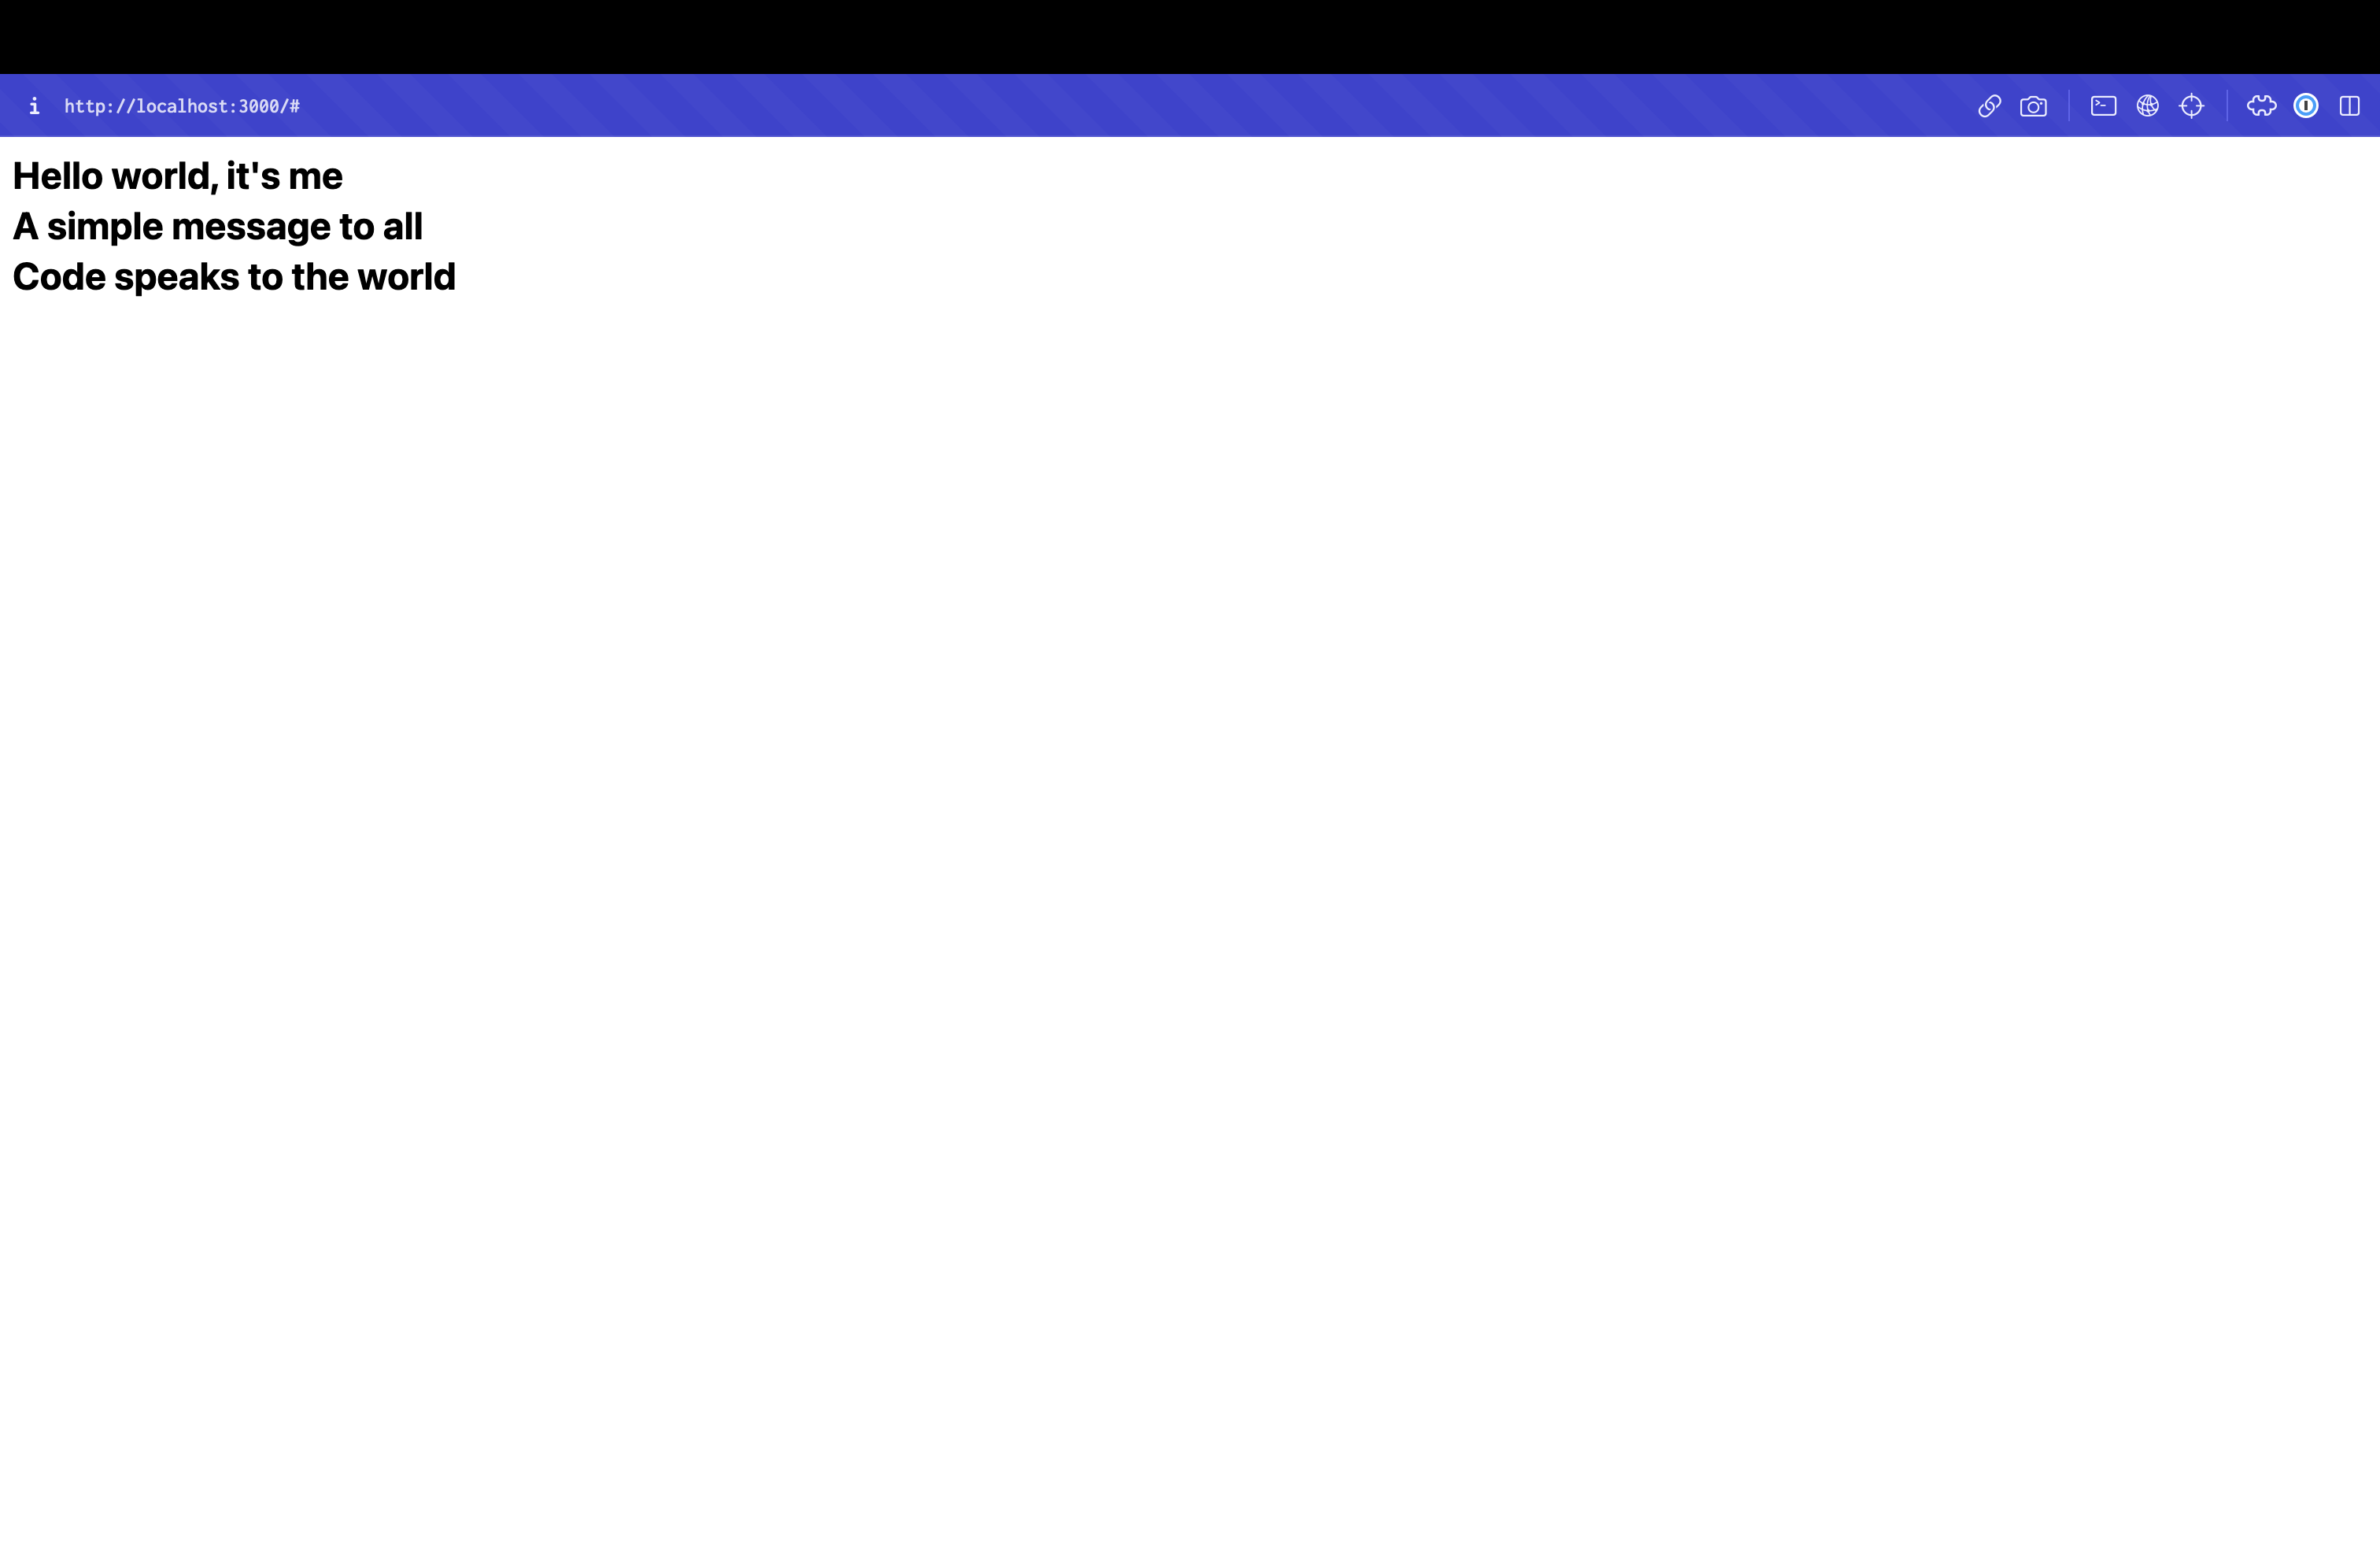
This code defines a React component that uses the hook to handle GitHub authentication and generate a "hello world" haiku. The haiku generation is triggered when the polyfact value changes. The component conditionally renders content based on the user's login status and the availability of the generated haiku.
Your AI generated Haiku should look like something similar to this:
Step 4: Styling with TailwindCSS
For styling our chat interface, we'll be using TailwindCSS. Install it:
npm install -D tailwindcss
npx tailwindcss init
Then, set up your styles and configure Tailwind:
src/index.css
@tailwind base;
@tailwind components;
@tailwind utilities;

html, body, #root {
    width: 100%;
    height: 100%;
    margin: 0;
}
tailwind.config.js
/** @type {import('tailwindcss').Config} */
module.exports = {
  content: [
    "./src/**/*.{js,jsx,ts,tsx}",
  ],
  theme: {
    extend: {},
  },
  plugins: [],
}
Make sure to restart your server to apply the Tailwind styles.
Step 5: Designing the Chat Interface
Time to design our chat interface: ChatBox Component.
Create a new ChatBox.tsx file and paste that code in it.
function ChatBox() {
return (
<div className="flex flex-col items-center h-full py-2">
<div className="border-black border border-solid p-4 mb-2 w-[800px] grow">
<pre>
<p><b>AI:</b> Hello World!</p>
</pre>
</div>
<div className="flex w-[800px]">
<div className="flex grow items-center border-black border border-solid">
<div className="font-bold ml-4">Human:</div>
<input className="p-1 my-2 mx-4 h-12 font-mono grow" placeholder="Type your message here !" />
</div>
<button className="bg-black text-white ml-2 p-2 px-5 font-mono font-bold">Send ></button>
</div>
</div>
);
}
export default ChatBox
Now, we want to import that ChatBot interface into our main App. Change your App.tsx so that it looks like the code below:
function App() {
  const { login, polyfact } = usePolyfact({
    project: "23104477-b687-45c7-9980-de306ec16df3",
  });

  useEffect(() => {
    if (polyfact) {
      (async () => {})();
    }
  }, [polyfact]);

  return (
    <div className="text-2xl font-bold p-2">
      {login ? (
        <button onClick={() => login({ provider: "github" })}>
          Login with Github
        </button>
      ) : polyfact ? (
        <ChatBox />
      ) : (
        "Loading..."
      )}
    </div>
  );
}
With this code, the ChatBox component renders a chat interface where messages are displayed, and the user can input new messages. The messages are displayed with labels ("Human" or "AI") and the content. The input field and button allow users to interact with the chat interface.
Your interface should look like this:
But we can't yet tap messages; we need to add the JavaScript logic in the ChatBox component to do that. This is done below:
function ChatBox({ messages }: { messages: { is_user_message: boolean, content: string }[] }) {
return (
<div className="flex flex-col items-center h-full py-2">
<div className="border-black border border-solid p-4 mb-2 w-[800px] grow">
<pre>
{messages.map(elem => (<div><b>{elem.is_user_message ? "Human:" : "AI:"}</b> <span>{elem.content}</span></div>))}
</pre>
</div>
<div className="flex w-[800px]">
<div className="flex grow items-center border-black border border-solid">
<div className="font-bold ml-4">Human:</div>
<input className="p-1 my-2 mx-4 h-12 font-mono grow" placeholder="Type your message here !" />
</div>
<button className="bg-black text-white ml-2 p-2 px-5 font-mono font-bold">Send ></button>
</div>
</div>
);
}

export default ChatBox
This should give you an error; don't worry about it, and go directly to the next step.
Next, we enhance our ChatBox by introducing the callback property onMessage to handle user message submissions. For this, we need to import the FormEvent type from React. Update your ChatBox.tsx:
import { useState, FormEvent } from "react";

function ChatBox({ messages, onMessage }: { messages: { is_user_message: boolean, content: string }[], onMessage: (message: string) => Promise<void> | void }) {
  const [loading, setLoading] = useState(false);
  async function handleSubmit(e: FormEvent<HTMLFormElement>) {
      e.preventDefault();

      setLoading(true);
      const message = (e.target as any).message.value;
      if (message) {
        (e.target as any).message.value = "";
        await onMessage(message);
      }
      setLoading(false);
  }

  return (
    <div className="flex flex-col items-center h-full py-2">
        <div className="border-black border border-solid p-4 mb-2 w-[800px] grow overflow-y-scroll">
            <pre>
                {messages.map(elem => (<p className="whitespace-pre-wrap"><b>{elem.is_user_message ? "Human:" : "AI:"}</b> {elem.content}</p>))}
            </pre>
        </div>
        <form onSubmit={handleSubmit} className="flex w-[800px]">
            <div className="flex grow items-center border-black border border-solid">
                <div className="font-bold ml-4">Human:</div>
                <input className="p-1 my-2 mx-4 h-12 font-mono grow" placeholder="Type your message here !" name="message" />
            </div>
            <input className="cursor-pointer bg-black text-white ml-2 p-2 px-5 font-mono font-bold" value={loading ? "Loading..." : "Send >"} type="submit" disabled={loading} />
        </form>
    </div>
  );
}

export default ChatBox
The component now handles form submissions, loading states, and updates to the user interface for a better user experience.
Step 6: Implementing the Chat Logic
To make that preceding Chat Logic work, we need to update our App.tsx, and work with the PolyFact API to generate chat messages. We will make a chat and display a chat history of the conversation. Let's update our App component so it looks something like this:
App Component
function App() {
  const { login, polyfact } = usePolyfact({ project: "<your_project_id>" });
  const [chat, setChat] = useState<Chat>();
  const [messages, setMessages] = useState<{ is_user_message: boolean, content: string }[]>([]);

  useEffect(() => {
      if (polyfact) {
          setChat(new polyfact.Chat());
      }
  }, [polyfact]);

  return (
    <>{
      login ? (<button onClick={() => login({ provider: "github" })}>Login with Github</button>)
      : chat ? <ChatBox messages={messages} onMessage={async (message) => {
          await chat.sendMessage(message);
          setMessages((await chat.getMessages()).reverse());
      }} />
      : "Loading..."
    }</>
  );
}
Try typing in a question! You should get an answer from GPT-3.5, the default PolyFact AI model. Your interface should look something like the one below.

And there you have it! You've successfully created a simple chat application similar to ChatGPT using React and Polyfact. Enjoy chatting!
Step 7: Polishing the Chatbot
You could stop after the last step if you are satisfied with a simple app, but you could also work on it further and iron out any details. You can change the interface how you like and fine-tune the model to be more precise!
If you have any more questions, you can ask for help on our discord, or in another dev-populated space, like dedicated subreddits or discord servers.
Happy coding!
